How to Draft a Simple Coat Pattern Using Your Own Measurements (Beginner Friendly!)
In this tutorial I’m going to show you how to draft a simple coat pattern using your own measurements. These step-by-step instructions make it easy for you to create your own coat sewing pattern that fits you perfectly!
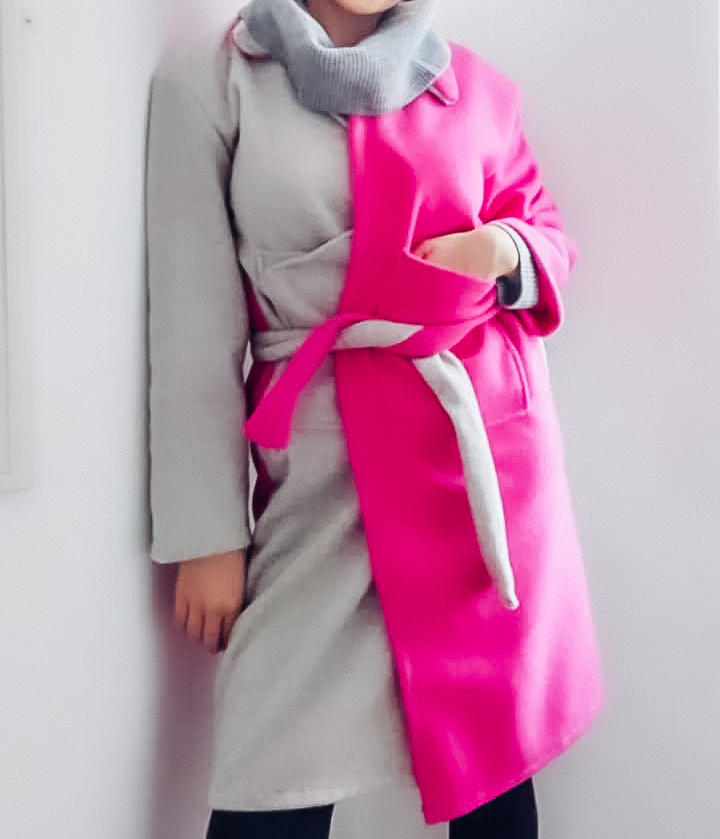
If you’ve been following my Instagram account for a few signs or signed up to our mailing list, you will know that the coat I am wearing in these pictures is actually one of the coats I launched on behalf of my fashion brand for our Autumn/Winter 2021 collection. Now I am sharing how to make this type of coat yourself.

How to Draft a Simple Coat Pattern Using Your Own Measurements
If you’ve ever wanted to sew your own coat but felt intimidated by patterns – this tutorial is for you. Today I’m showing you how to draft a custom-fit, open-front fleece or wool coat using ONLY your own measurements. No complicated tailoring, no interfacing, no buttons, no zippers. Just a soft, cozy, handmade coat that fits beautifully every time.
This method works for every size because you’re drafting the pattern directly from your body. Whether you’re a US size 2, 6, 12, 20+ or a EU size 32, 34, 36, 38, etc., it doesn’t matter – these instructions scale perfectly. Let’s get started!
What Fabrics Can You Use to Make a Coat?
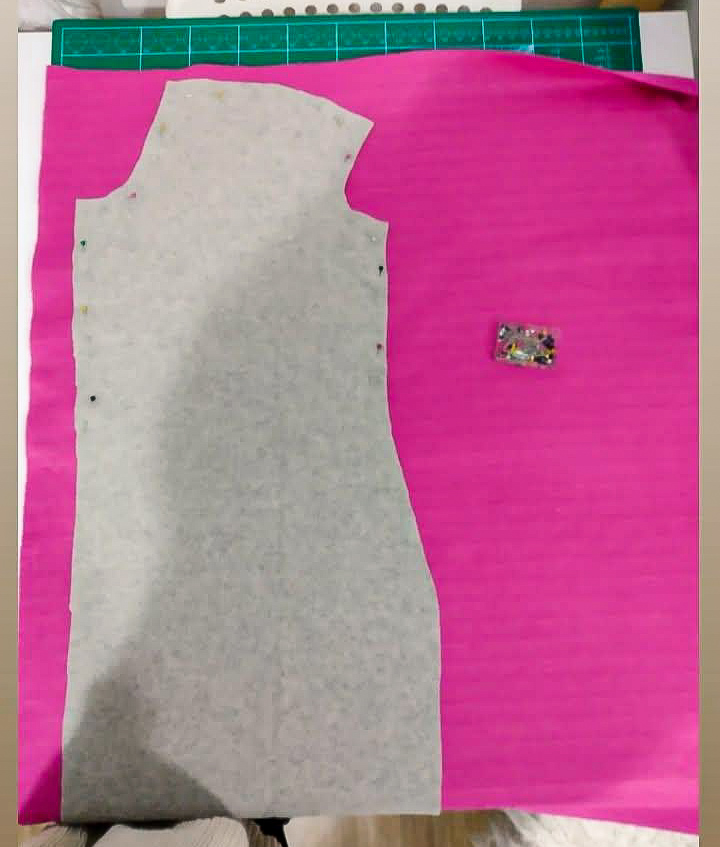
For this coat tutorial I recommend using heavy but soft fabrics, such as wool blends or fleece. You can also upcycle old blankets or throws and turn them into a coat by following these instructions in this post. I love turning old blankets into coats and this simple coat pattern makes this process incredibly simple even for sewing beginners!
What You’ll Need
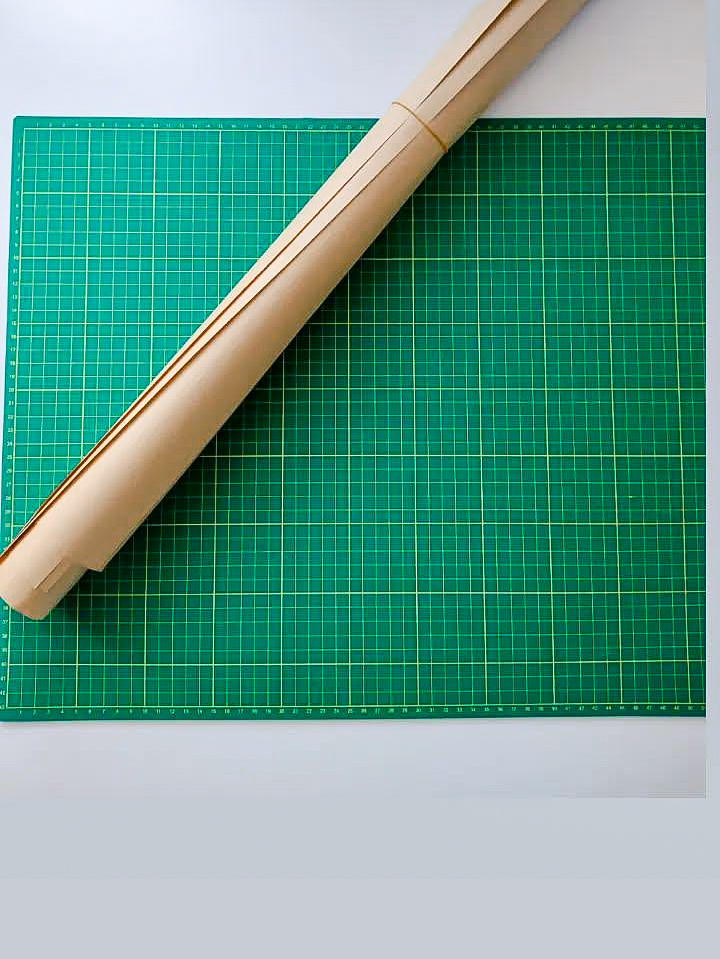
- Pattern paper (or taped-together printer paper)
- A tape measure
- A long ruler
- Pencil and eraser
- Your chosen fabric (fleece or soft wool works great or use old blankets or throws!)
- French curve (optional)
For this tutorial I’ve made the coat an open front coat with long sleeves and the length of the coat sits just below the knee. There are no closures on this coat pattern to make it an easy coat sewing pattern for beginners. You can of course, add a belt or sew on buttons if you prefer. The style of this coat is supposed to have a soft-structure and therefore doesn’t require interfacing. What I love most about this coat is that it’s soft and comfortable and perfect for wearing outside as a normal coat or around home to keep you warm when it’s cold. The soft and relaxed fit makes it as comfortable to wear as a dressing gown or robe but smart enough to be seen in it.
Step 1: Take Your Measurements
Now it’s time to take your measurements so that you can start making your own custom-made sewing pattern. Grab a tape measure and take all of these measurements in order.
- Bust circumference (B)
- Hip circumference (H)
- Shoulder width (SW) – shoulder bone to shoulder bone
- Back neck to waist (BNW)
- Waist to knee (WTK) – for coat length
- Bicep circumference (BI)
- Arm length (AL) – shoulder to wrist
- Neck circumference (NC)
Don’t overthink this. All you need to do is stand straight, measure around the body area, and round to the nearest ½ inch. So for example, if your waist measurement is 33.5 inches, you’d round it up to 34 inches.
Step 2: How to Draft Your Own Coat Sewing Pattern
When drafting your own coat pattern or any sewing pattern for that matter, you need to make a few additional calculations to your measurements in order to create a sewing pattern that has room for movement. Before you proceed with creating your sewing patter, make sure that you add all of the below listed to the measurements you’ve just taken.
So for example, if you’ve just measured your hips at 38 inches, you will need to add 6-8 inches to that number – so you should have 44-46 inches as your hip measurement. Don’t worry, this will not make your coat baggy or poor-fitting, it just gives the coat enough room for you to be able to move your elbows, arms and joints.
Use this easy formula:
- Bust: +6-8 inches (15–20 cm)
- Hips: +6 inches (15 cm)
- Sleeve (bicep): +2 inches (5 cm)
Step 3: Draft the Back Pattern
Now for the exciting part! It’s time to take those measurements and draft your sewing patterns. First we’re starting with the back pattern, which as the name suggests, is the back of the coat. This is a really easy step-by-step tutorial enabling you to draw your back sewing pattern easily and accurately.
1. Draw a rectangle
- Width: (Bust ÷ 4) + 1″ ease. For e.g. if you’re bust measurement is 34 inches, the calculation would be 34 + 4 = 8.5 = 1 = 9.5 inches.
- Height: BNW (Back neck to waist ) + WTK (waist to knee) this height will be from the neck to the coat hem.
2. Draw the back neckline
- Neck width = Neck circumference ÷ 12
- The neckline should have a drop of 1 inch or 2.5 cm if you’re working in metric.
The neckline should be slightly curved, which is why a French curve is really helpful for drawing arm and necklines. Don’t worry if you don’t have one, you can use a shoe horn or whatever you have at home that could be used in the same way. You could even create your own from old cardboard.
3. Draft the shoulder line
- Shoulder measurement = SW (shoulder width) ÷ 2
- Drop the shoulder by 1 inch for a natural slope to create the shoulder line. It’s important to create a drop for the shoulder line, as this is what makes the coat fit around the contours of your shoulders rather than looking boxy.
4. Find the armhole depth
Use this formula to workout the armhole depth:
Bust ÷ 4 + 1 inch
Once you have the calculation, draw a horizontal line across and this is where you will draw the armhole curve.
5. Draw the armhole curve
A gentle curve from shoulder to armhole line. Simply join the dots between the shoulder line and the armhole line. This doesn’t need to be perfect but using a French curve can help make this task easier.
6. Draw straight side seams
If your hips are larger than your bust, widen the bottom using the formula:
Hip measurement ÷ 4 + adjustment needed.
The adjustment number can be whatever you choose. If you need to add another 5 inches then this is what your adjustment number will be here. This might not be necessary if your hips are not larger than your bust or if the difference isn’t noticeable.

Step 4: Draft the Front Pattern
Now for the fun and easy part! It’s time to draft the front pattern. The front pattern will be in two parts and these will be sewn to either side of the back panel. Once you’ve cut out your front pattern you will start to see your coat coming to life and resembling a real coat, which is always exciting to see in sewing – especially when you’re a beginner and are making your own coat for the first time!
1. Trace your back pattern
Same shape, same size.
2. Modify the neckline
- Neck width = NC (neck circumference) ÷ 12
- Front neck drop = 3-4 inches
The front neck drop is the front collar area of the coat. There has to be a drop on the front pattern so that it’s lower down than the back pattern. If both patterns were equal, the front pattern would sit uncomfortable and would be too high and tight around the neck. This is why there needs to be a drop.
3. Add the front opening
Draw a straight line down the front.
This is your open coat edge – no buttons or zips needed.
4. Optional: Add ½–1 inch at the side seam
This gives extra comfort and makes the coat drape beautifully.
Step 5: Draft the Sleeves
Sleeves sound scary, but this method keeps it easy.
1. Sleeve width
(Bicep + 2″ ease) ÷ 2
2. Sleeve length
Use your arm length (AL).
3. Draw a rectangle
- The width will be the width of the sleeve
- The height will equal the length of the arm
4. Sleeve cap height
Use this formula:
Bust ÷ 12 + 1 inch
Mark this height from the top.
Draw a smooth curve from one upper corner to the other.
5. Adjust the wrist
Make it wider or narrower to suit your style. If you prefer a standard wrist then leave as it is provided that it fits comfortably for you.
Step 6: Draft a Simple Shawl Collar
Drafting a simple shawl collar for a coat isn’t as difficult as it may sound. If you’ve made it this far – well done! Now for the collar to finish off the coat so that it doesn’t look handmade. To draft a coat collar pattern you will need to:
1. Measure your entire neckline
Front neckline + back neckline = Total Neck Length (TNL)
2. Draw a rectangle
- Width: 4–6 inches – The width depends on how big you want the collar to be but 4-6 inches is a standard size.
- Length: TNL (total neck length) × 2
3. Slightly curve one long edge
This helps the collar fall softly.
Step 7: Add Seam Allowances
Add ½–⅝ inch (1.2–1.5 cm) around all edges.
Don’t forget the hem!
Step 8: Cut & Sew Your Coat
Now that all of your sewing pieces are ready and you’ve drafted your own DIY coat sewing pattern that is made-to-measure, it’s time to cut the fabric and sew your coat. I’d recommend batch-tasking this process. Cut all of your fabric at once then sew in the order listed below.
1. Cut:
- 1 back piece on the fold
- 2 mirrored front pieces
- 2 sleeves
- 1 collar
2. Sew in this order:
- Shoulder seams
- Attach the collar
- Sew side seams
- Sew the sleeves
- Insert sleeves into the armholes
- Hem the coat
- Hem the sleeves
That’s it. You officially made a coat pattern from scratch! Well done!
Top Tip for Beginners:
If you’re new to sewing and want to make it less overwhelming, I recommend practising on scrap fabric first and also, drafting a small mini version of the pattern to practise on. It can be very daunting to be handling such large pieces of fabric and trying to understand how sewing a few inches of one area will change the appearance of the entire coat. That’s why I recommend making doll-sized patterns first. When creating pattern drafts using small sewing patterns, such as doll-sized sewing patterns, you can easily see every angle of the coat when sewing and feel more in control. This will prepare you for working on larger volumes of fabrics, such as adult-sized coat patterns which typically require a few meters of fabric.
How to Finish Off Your Handmade Coat
If you’d like to practise your sewing skills and have a go at customizing your new coat then why not consider adding some decorative top stitching, patch pockets, a belt or a lining. Once you’ve grasped the basics of pattern making for sewing, you can start to upcycle old fabrics into new clothing or transform clothes you already own into your own unique new designs.

